An Introduction to Heavy-duty Connectors (Anderson Style Plugs)
— September 06, 2021 | 2 min read
If you’re looking at setting up a dual battery system in your 4wd or towing a caravan or camper, chances are, you’ve heard of a heavy-duty connector, also known as an Anderson style plug. But what exactly are they? What are the benefits of using one over a 12-pin plug? And how do you install them? Read on to find out!
What is a Heavy-duty Anderson Style Plug?
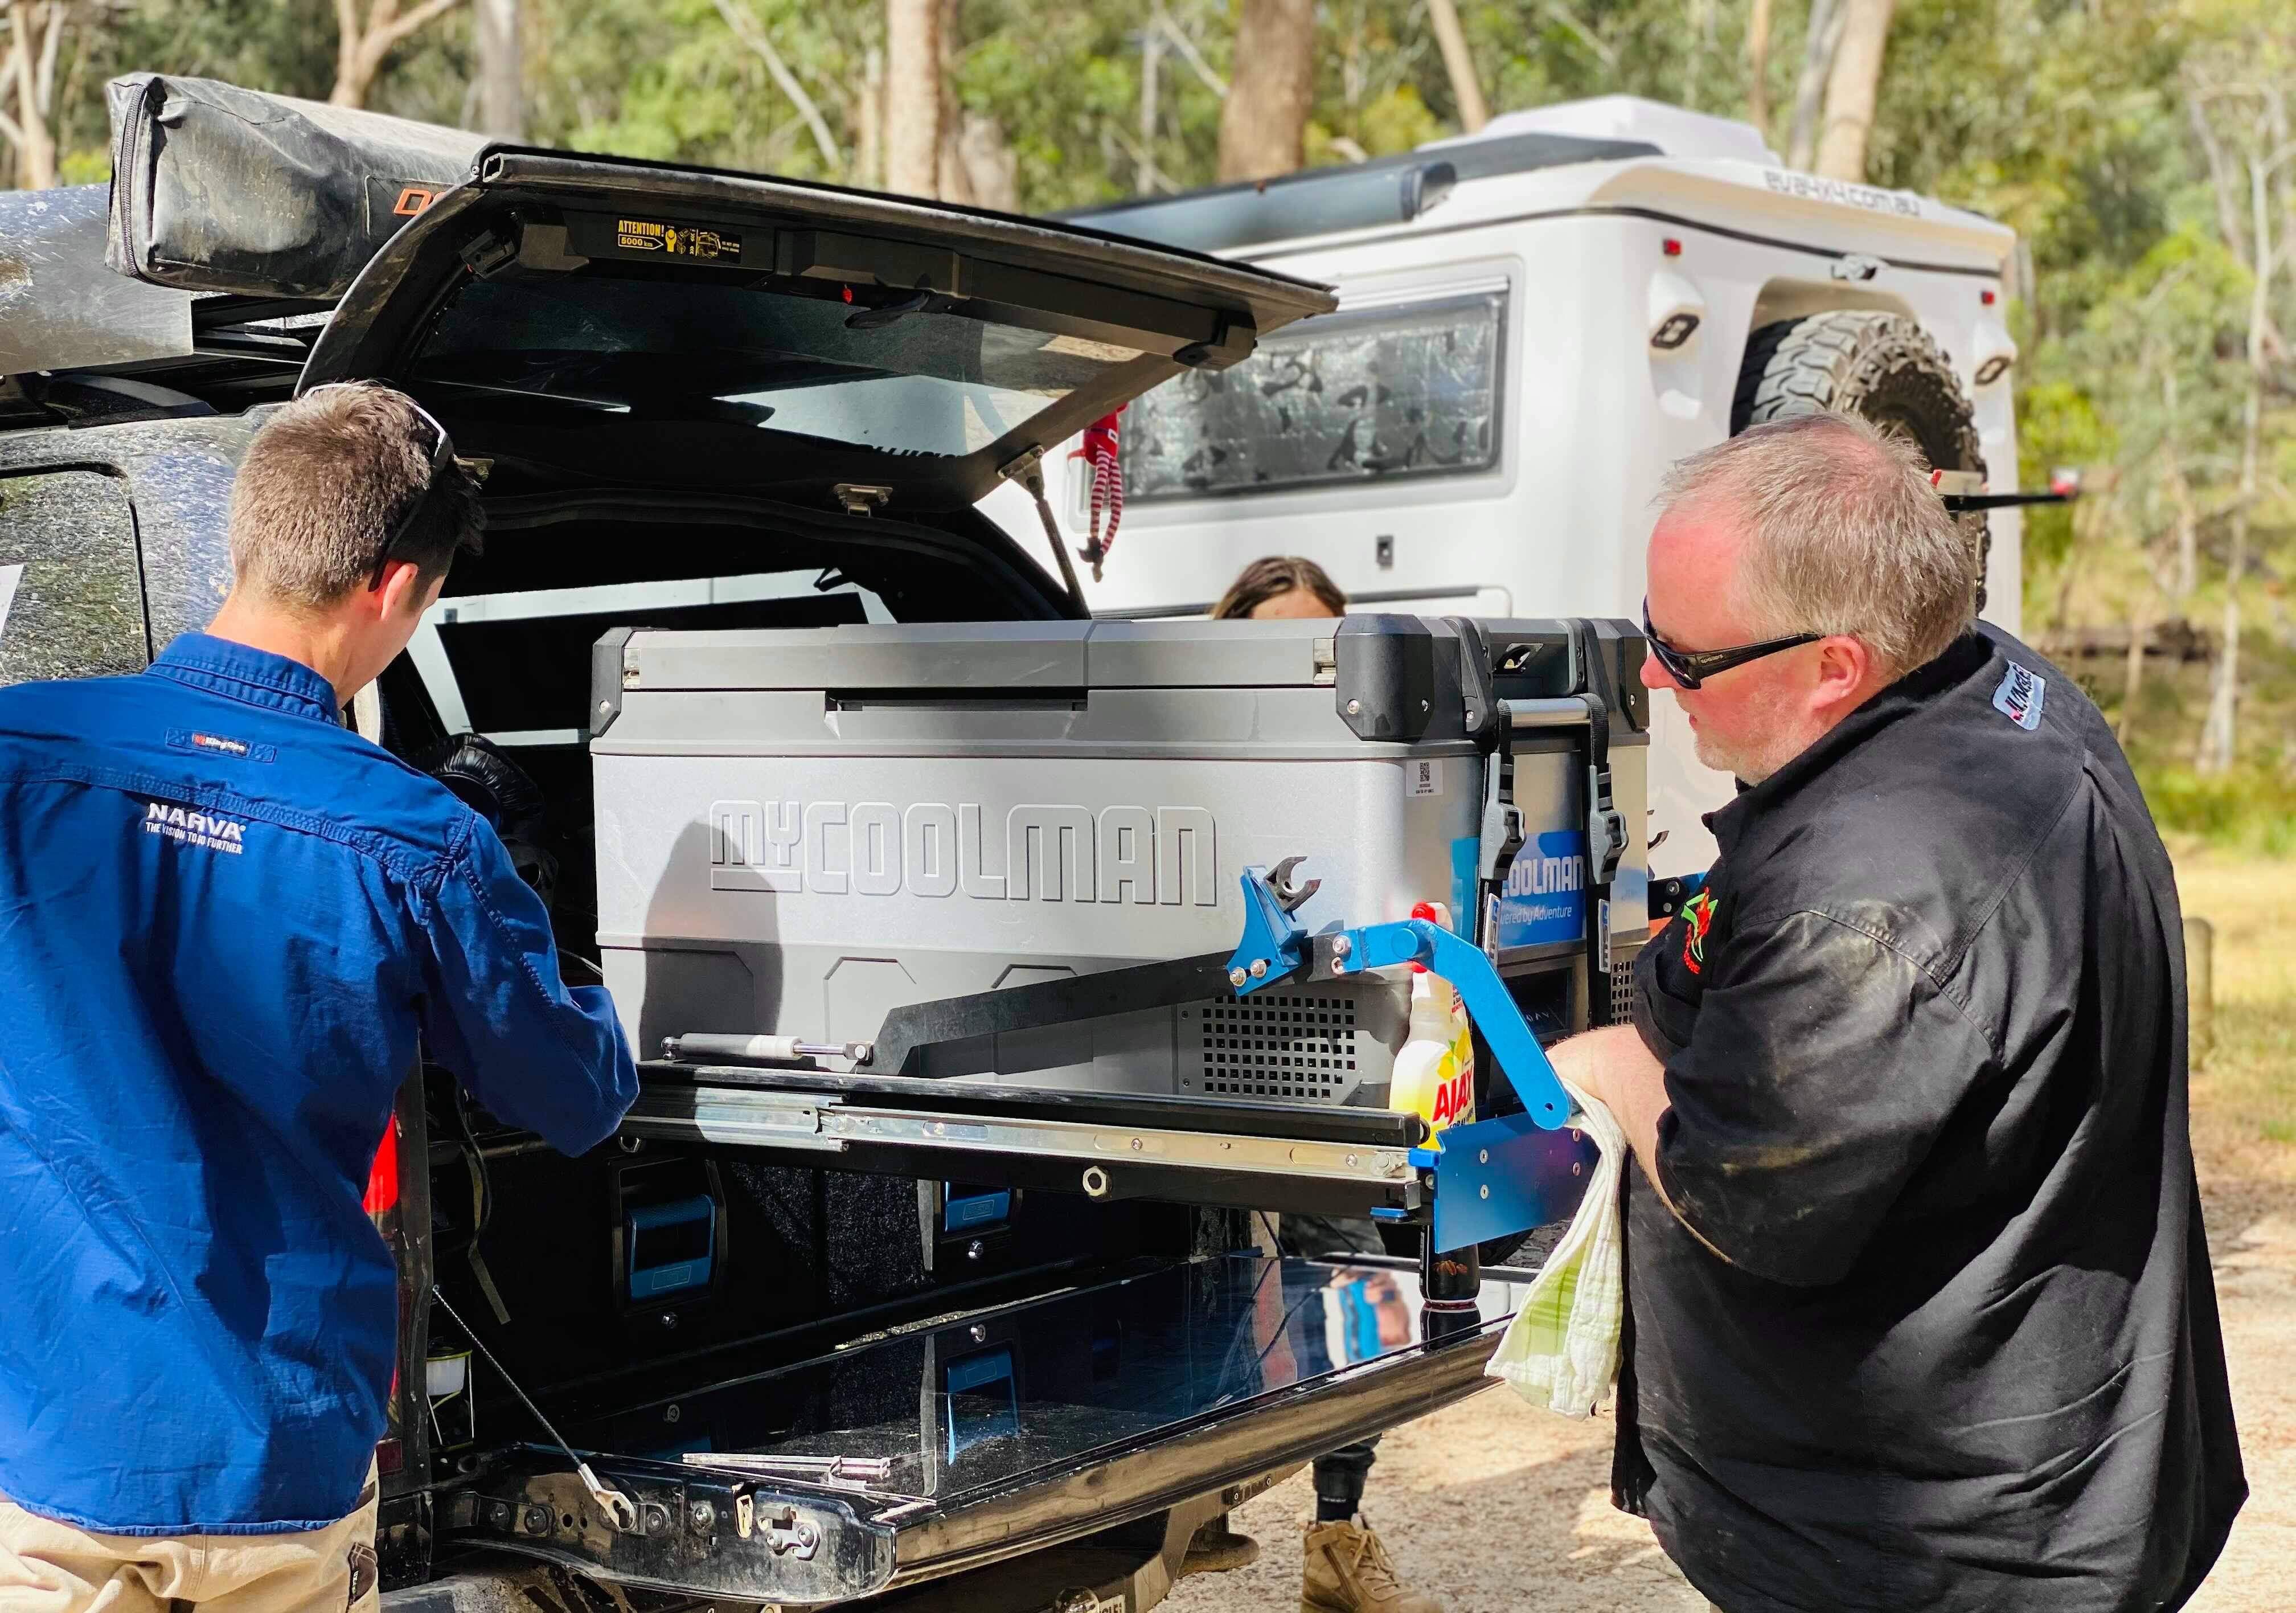
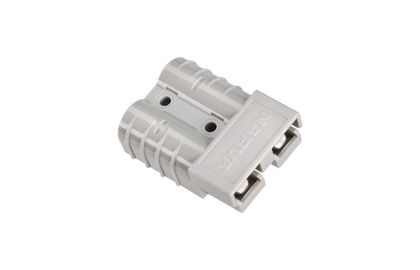
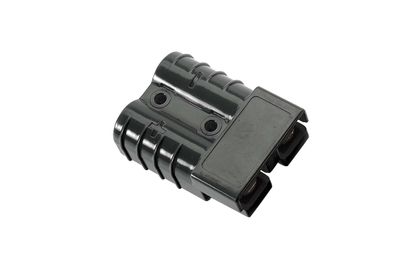
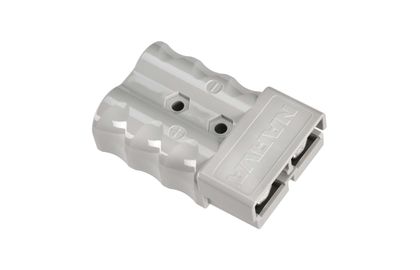
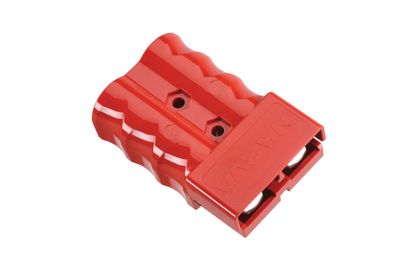
An Anderson style plug is a moulded, heavy-duty connector designed for high current 12V circuits. They are commonly used to create a safe and secure power connection between a caravan or camper and a tow vehicle. Indeed, most caravans and campers these days have an Anderson style plug installed from factory. Heavy-duty connectors can also be used to connect to a fridge in your tow vehicle or camper, or a portable solar panel.
Heavy-duty connectors come in a variety of sizes and current ratings. The larger the plug, the higher the current rating. They also come in a range of colours, including red, black and grey. It’s important to note, though, you can only connect one heavy-duty connector to another of the same colour. Eg. Red to red, black to black. This colour coding allows you to assign different colour Anderson plugs to different applications or purposes. This is particularly useful where one heavy-duty connector might be used to power an electronic stability control system and another your fridge or compressor.
What's more, heavy-duty connectors are non-gender; they are male/female and a plug/socket in one. They have the smarts built-in to maintain the correct battery polarity when you plug them together (by flipping one upside down).
.jpg)
What are the benefits of using an Anderson style heavy-duty connector over a standard 12-pin connector?
Heavy-duty connectors are one of the most simple and robust means of high current transfer. Engineered to handle continuous charging loads, they are ideal for powering dual battery set-ups (along with a DC-DC charger), fridges, air compresses, solar systems and other high current accessories in your 4WD Tourer.
While many 12-pin connectors offer similar functionality, they are restricted by light-gauge cable (usually 6mm diameter max.) which in turn restricts current transfer. A heavy-duty connector can accept far heavier gauge cable than a 12-pin connector. This is important because many new 12-volt accessories are highly voltage dependent. A drop in voltage can cause issues with some accessories, especially batteries which require between 13.9 and 14.5 volts to charge efficiently.
What’s more, a continuous high charging load through a 12-pin connector can melt the pins. 12-pin connectors are not designed to handle loads from high-output alternators. They are also less secure than an Anderson Plug which is designed to stay locked in place even over corrugated roads and off road terrain.
What wiring gauge can be used with 50A, 120A, 175A and 350A Anderson style heavy duty connectors?
As Anderson style plugs are designed around the American Wire Gauge (AWG) and not the standard Australian Wire Chart (AWC), we have referenced the AWG cable below [with AWC listed in brackets]:
- 50A heavy-duty connector (48.0mm width) = 6-12 AWG [2.9-4.7mm]
- 120A heavy-duty connector (63.5mm width) = 2-6 AWG [4.7-7.4mm]
- 175A heavy duty connector (79.6mm width) = 1/0-6 AWG [7.4-9.4mm]
- 350A heavy duty connector (107.9mm width) = 4/0-1/0 AWG [9.4-22.6mm]
How do I install a heavy-duty connector?
Installing an Anderson style heavy-duty connector isn’t particularly challenging. However, we recommend that you research your vehicle and understand your power requirements before attempting a DIY installation. If you’re in any way confused or apprehensive about doing it yourself, then it’s best to get a qualified auto electrician to install the heavy-duty connector for you.
It goes without saying that you’ll need the right tools for the job. Most DIYers will already have a good understanding of the tools required to perform this task. A heavy-duty crimper is recommended, and you may also require a soldering iron, drill, and various other tools for cable access and attachment.
Determine where the cable will be routed and feed it through, remembering to seal any point where the cable may enter and exit the cabin. Remember to use the shortest route possible to reduce voltage drop, to insulate the cable against chaffing, and to secure the cable against snagging.
An inline fuse or circuit braker is recommended and should be placed on the positive (red) wire where it meets the battery terminal (or alternator). Both the positive (red) and negative (black) cables should be connected to the battery terminal only after you have finished connecting the heavy-duty connector and its cabling in place.
With the cabling routed you are now ready to connect the heavy-duty connector. In most instances the connector will be located on or near your vehicle’s tow bar. We recommend crimping and soldering the terminals to the cable, and using heat shrink to reduce water and dust ingress into the cable.
Once you’ve secured the terminals and cable ends within the heavy-duty connector housing you may mount the connector to your 4WD. Secure any loose cable, insert your fuse (or enable the circuit breaker) and connect the terminals to your vehicle’s battery. Use a multimeter or test light to test the circuit if need be.
Remember, an improperly installed heavy-duty connector can cause damage to you, your vehicle, and your 12-volt accessories, so take your time and employ the services of an auto electrician if required.
.jpg)
Did you know…
With more 4WD Tourers and caravanners using solar panels as a power source, the use of the Anderson style heavy-duty connector is becoming an increasingly popular way to connect batteries (via a regulator) to solar panels to top-up charge. An auxiliary battery with provide approximately two days’ charge when used to power a camping fridge or similar accessory.
NARVA Anderson Style Heavy-duty Connectors: built to go the distance
Narva heavy-duty connectors are rated from 50 to 350 Amps. They are ideal for environments where a durable, rugged connector capable of high current transfer is required. UV stable and constructed with an impact resistant polycarbonate housing, the connectors are made for the harsh Australian conditions. Silver-plated solid copper terminals offer both high physical strength and dielectric properties.
Related products
HEAVY-DUTY 50 AMP CONNECTOR HOUSING GREY (Blister Pack)

HEAVY-DUTY 50 AMP CONNECTOR HOUSING RED
HEAVY-DUTY 50 AMP CONNECTOR HOUSING BLACK
HEAVY-DUTY 350 AMP CONNECTOR HOUSING GREY
HEAVY-DUTY 350 AMP CONNECTOR HOUSING GREY (Blister Pack)
7 PIN FLAT TRAILER SOCKET WITH HEAVY DUTY CONNECTOR